Showing posts with label Trash to treasure. Show all posts

Saturday, April 6, 2013

Bird nest material dispenser -1

Some months ago while browsing for some ideas of a bird house, I bumped into a site wherein a bird nest material dispenser was featured.  It was something like this: See the link having a very brief  post.  It was a project I could make and I knew it was needed for our little feathered friends as well, in particular, the tailorbird. 

April to August is supposed to be the nesting season for the tailorbird and yesterday I saw this:


I thought this is the right time to provide them some easy pickings for their nesting endeavours.  I found a no-longer-in-use bill holder.  Bills were pierced through the top of the wire and pushed down to the wooden stand, which is actually a base of my grandfather's trophy which is in the showcase.  The base was too big for the rack.

I poked some surgical cotton which I keep in the first-aid box and some thread in the form of cleaning waste cotton [red thing] which is very thready.  I thought the birds would like them. This is a beginning experiment.

Since the item was ready, it took no time to install.  I hung it around noon on the hibiscus plant where the tailorbirds frequent.  And in the evening, I saw the cotton being pulled from different sides!  I had later hung it on the curry plant as I could view it clearly from the room window.  Usually in the mornings they are more active collecting materials. Let me see if I can catch them on camera, picking [with thanks] cotton.


I now plan to add some coconut fibre and jute thread and do what you saw in the link I gave in the beginning.  I will be trying to improvise on this project.

I had already made a post on the nests with images.  See it here. [Click]

Saturday, January 26, 2013

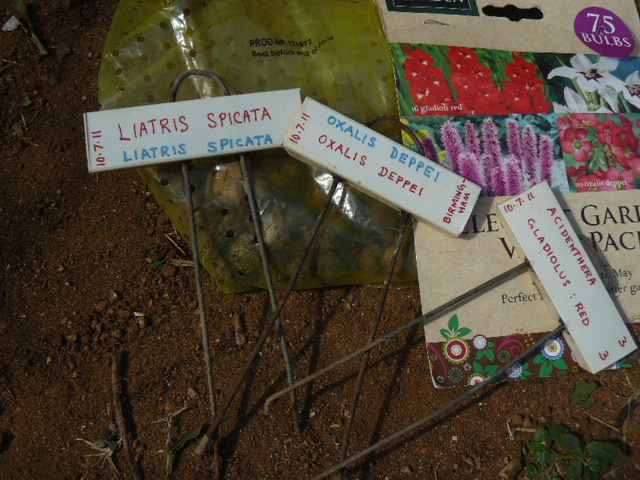
Plant Markers


I came to know about Plant Markers from Dave's Garden in my early years in that website.  Gardeners have used myriad items to label their plants in their beds.  They have used discarded spoons, ice cream sticks, Venetian blinds, whatnot.  Some companies even manufacture and sell their plant markers, but some gardeners prefer to make their own as it is so much fun.  Also it is a way to recycle or reuse materials suitable for this.  

Some years ago [2006] I had tried to put paper in a plastic cover and hang it to the plants or put it at its base.  But the writing in it got completely faded in the weather.  I tried marker pens and that too did not help.  


Then came the wax crayons, which was a flop.  


There was another method.  Thin foil was to be embossed by writing.  Insufficient foil availability, so dropped it.  In the end, I thought paint would be the best bet and it is. Worth the extra work.
I had plenty of electric casings, of plastic. This suited for plant marker labels.  It had failed to retain all of them before - marker ink and crayons.  Recently, I made up my mind, skipping the afternoon nap and sat to make a list of plants to which labels would be nice. It would also serve me to brush the memory as I look at them when I water.  I also plan to make a chart of Butterflies that I've found in the Yarden, so that I would look at it when I have nothing else and that way, the memory of names would stick better.  
I had quite a few of these plastic labels I had prepared 2-3 years ago.  They had to be hung on a stiff wife and pierced into the soil.  So I painted some 15-20 and this long-pending project finally materialized. 


It was tough to start with, as I had not used that size 'zero' thin brush. Taking the right amount of paint on it to write properly is a must.  No less, no more.  


I chose the bench beside the pond to do this, because I like that skylight and the sun was behind me. 


This time, I put the maker's name on them, just for fun! 
As soon as the paint was dry, I placed them where they were meant to go.  I hope they last as long as the plant.


Look at the one I wrote with a marker pen.  All gone. 
____